I’ve been doing a lot of Linux Mint installations lately and one very annoying thing that I found in 2 laptops was the non availability of WiFi driver. Apparently, it’s a new hardware and is not in the Linux kernel.
The hardware is Realtek device d723. This new WiFi hardware is being shipped in new PCs and laptops now. Without having the internet, one can’t do almost anything. So it’s important to have this fixed up.
UPDATE : Added a new method to make it work on Ubuntu 18.04 LTS
If method 1 doesn’t work for you, try method 2 or method 3.
Getting Internet
We need a temporary internet connection to fix WiFi. Ways to connect :
- Connect USB cable and use USB Tethering in your phone to connect your computer to the internet (through phone’s cellular data/WiFi)
- Use wired ethernet cable for connecting to internet
Finding Device
Open a terminal and do the command lspci. You will see all the PCI devices of your system. If you have the d723 device, you can see it at the bottom :
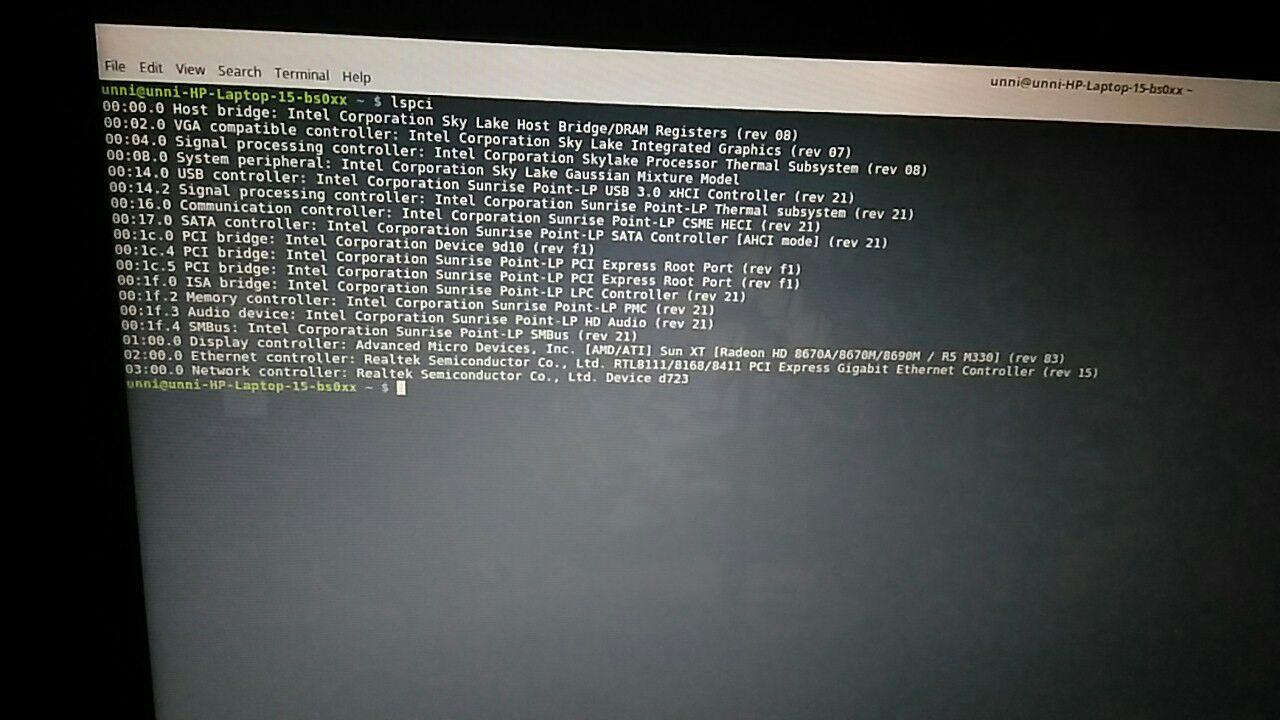
Or to quickly know if you have the d723 WiFi hardware, do :
lspci | grep d723
Prerequisite
You should install the corresponding header of your kernel :
sudo apt-get install linux-headers-`uname -r`
Next, install the packages necessary for building :
sudo apt-get install git build-essential dkms
Method 1
This is the RECOMMENDED METHOD because in future, when kernel is updated, the installed driver will be automatically compiled to make it work in newer kernel.
We’re gonna use the driver available in this GitHub repository’s extended branch.
To simplify everything, run the following commands one by one :
git clone -b extended --single-branch https://github.com/lwfinger/rtlwifi_new.git
sudo dkms add rtlwifi_new
sudo dkms install rtlwifi-new/0.6
Restart your computer. And you’ll get your WiFi !
Method 2
We’re gonna use the driver available in this GitHub repository’s extended branch.
To simplify everything, run the following commands one by one :
wget -d -c -O 'rtlwifi_new.zip' 'https://github.com/lwfinger/rtlwifi_new/archive/extended.zip';
unzip rtlwifi_new.zip;
cd rtlwifi_new-extended;
make;
sudo make install;
sudo modprobe -r rtl8723de;
sudo modprobe rtl8723de;
What the commands does is download the GitHub repository (extended branch) with wget. If your system doesn’t have wget, install it :
sudo apt install wget
After that, the downloaded zip file is extracted with unzip. Then inside the extracted folder, the drivers are compiled and installed with make & make install
After that the drivers are enabled using the modprobe command with sudo.
PS : Thanks to Bruno Loy for confirming that this works !
Method 3
smlinux has made a driver for d723. Compiling it and installing it will help you connect to WiFi.
First step is to identify the version of your Linux kernel :
uname -r
The driver is different according to the Linux kernel version. Only the driver to download will vary. Rest of the installation steps are the same.
Download
Now according to the kernel version download the driver :
4.11 and up
If the Linux kernel version is 4.11 or greater (>=4.11), then download this file :
wget -d -c -O 'rtl8723de.zip' https://github.com/smlinux/rtl8723de/archive/4.11-up.zip
4.10 and down
If the Linux kernel version is 4.10 or below (<=4.10), then download this file :
wget -d -c -O 'rtl8723de.zip' https://github.com/smlinux/rtl8723de/archive/4.10-down.zip
Build & Install
Now let’s build the driver and install it.
After the download of the driver zip file, extract it :
unzip rtl8723de.zip
Go into the extracted folder, build it and install it :
cd rtl8723de
make
sudo make install
Reboot
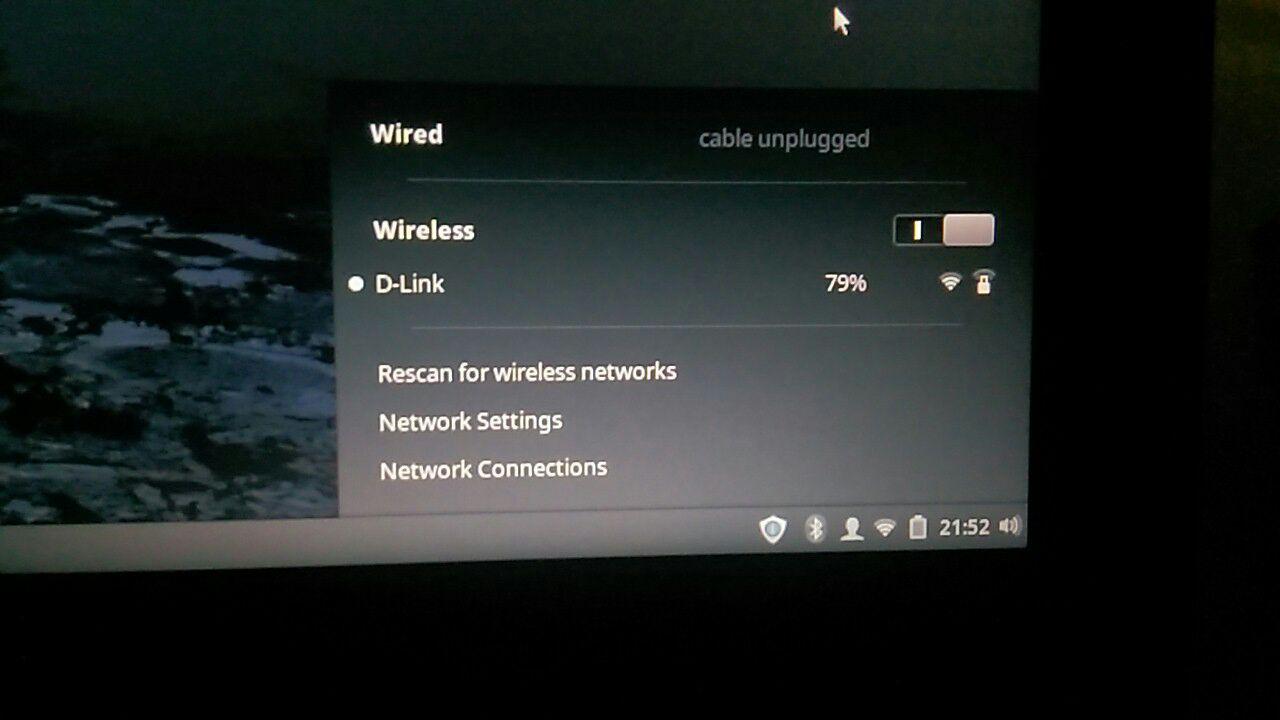
After the installation, restart your computer. After the restart, you’ll be able to connect to WiFi :
FAQ
“Required key not available”
The easiest solution is to disable Secure Boot in UEFI settings. Solution here.
Poor WiFi Range
Open a terminal and do :
sudo modprobe rtl8723be ant_sel=1
If that doesn’t fix it, do this instead :
sudo modprobe rtl8723be ant_sel=2
This is a temporary solution. To make it permanent, we need to run it every time the system starts. For that, edit the file /etc/rc.local :
sudo gedit /etc/rc.local
Replace gedit above with whatever text editor you have.
Then, in that file add :
sleep 10
sudo modprobe -r rtl8723be
sudo modprobe rtl8723be ant_sel=1
Replace ant_sel=1 above with the one that worked for you. Either ‘1’ or ‘2’.